Spooky Spiral Spiderwebs

31 October 2012
My friend Tamara from Teaching with TLC posted about the coolest math activity - as soon as I saw it, I knew I wanted to try it with my kids today.  I remember doing these spiralgraphs when I was little, and I knew my students would enjoy it ... plus, it kept them busy and engaged for almost 45 minutes today - (and that's no trick!).  We've been practicing skip counting with our multiplication facts (and we just finished our patterning unit), so it wasn't even a stretch to include it into our math activities today.  You can download a template and instructions for the activity by visiting Teaching with TLC through the link at the beginning of this post (tell her I said 'hi!').  When we finished our spiralgraphs we added a little spider to complete the spiderweb effect.


I even managed to get them up on a bulletin board display during a few quiet moments at recess (and believe me, those were the ONLY quiet moments today).  ;)


Happy Halloween!!!  Hope you all survived the crazy day ... and the next few days to come.  Is it Friday yet???  My little trick-or-treaters are out with Daddy right now, and I'm enjoying one one-too-many chocolate bars while handing out the candy.  ;)


Other Fall-Themed Resources:


9

Plot in the Pumpkin Patch

30 October 2012
We've got a pumpkin patch growing in the classroom ... and I'm loving it!  We took a few minutes this morning and made our pumpkins.  You can find instructions on how to make them HERE at First Palette. The only difference was that we used 6 sections instead of the 10 shown on the website.

We turned our pumpkins into a seasonal language activity by incorporating the story elements we've been studying in class.  Using our read aloud, Wonder, we wrote about  the story elements on each of the pumpkin sections:  plot, character, setting, conflict, resolution, point of view, and theme.  This was a perfect activity for the day before Halloween, and it makes a perfect formative assessment activity (handy for collecting marks in the last few days before report cards are due).


Happy Halloween!!!  Here's hoping we all make it through the next few days!  :)

Note:  I have updated this idea and made it into a resource that's easy for you to reproduce in the classroom with your students.  Click HERE or on the picture to the right to take a peek.  :)

Other Autumn-Themed Resources:


12

Math Journal Sundays - Pop-up Bar Graphs

28 October 2012
We started into our Data Management unit this week.  I LOVE this unit!  It's so easy to integrate it into our other subjects and interests, and the students always experience a lot of success with it.  And this year, our first graphing lessons really POPPED ;).

As our diagnostic activity, I gave each student a sticky note and asked them to write down all the different graph types they could think of.  We posted the stickies on the board, and made a tally chart of the frequency of each type of graph.  Together, we built a bar graph, and discussed all the different components of the graph.  I made a large note and graph on chart paper, and students each completed their own.


The next day we turned this graph into a journal entry for our math journals ... we made pop-up bar graphs - and they turned out AWESOME!!!  The kids thought this was so cool (and so did I).  For time-saving purposes (and to allow for a little mastery) we used the same data as the previous day.


We discussed intervals for both graphs the next day.  We completed a bar graph activity that had the students incorporating intervals into their bar graphs.  I asked the students how many markers they had in their desks (can you believe one of my students had 90 markers!!!) and we collected all the data.  After that, the students worked independently to complete their own graphs.  


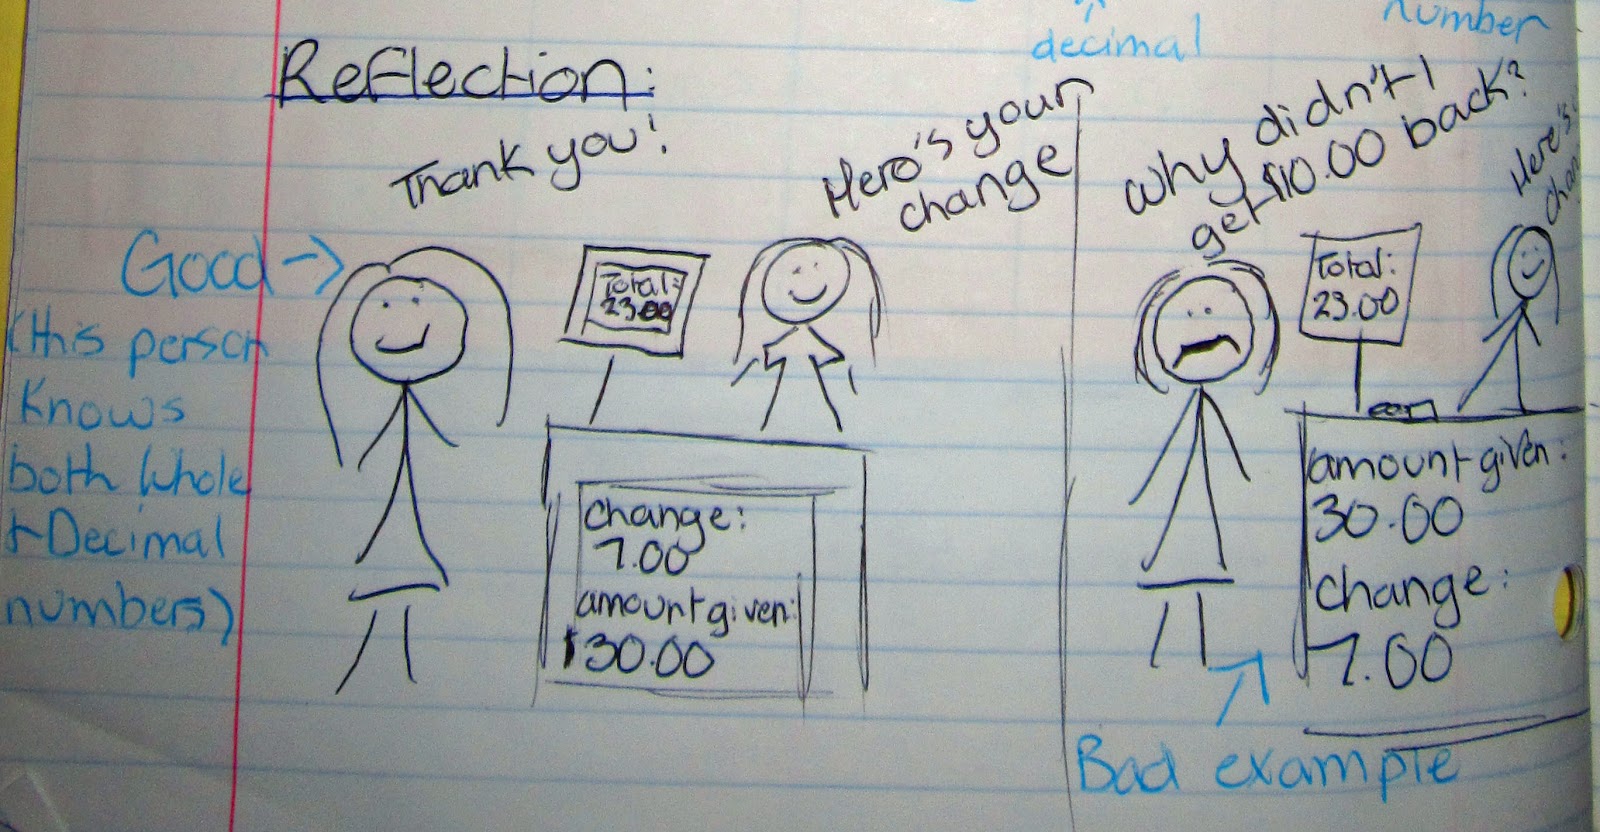
When they were finished, we had a gallery walk for our reflection.  Students filled out the top half of their reflection sheets (success criteria checklist and reflection) before they went on the gallery walk.  For the gallery walk, students put their completed graphs on their desks.  They then walked around the classroom with their reflection sheets to come up with 3 questions / or things they noticed to ask the whole group when we reassembled.  This was a lot of fun - and I LOVED some of the questions they came up with.  It let to great class discussions about choosing the most appropriate scale and intervals, and how to best show the range of data on a bar graph.  When they were finished their gallery walk and class discussion, students had to fill in the last part of their reflection.

My students had so much fun with these activities, I thought yours may enjoy it, too.  I made up a graphing resource for these lessons and posted it at my TPT store.  Creating Pop-Up Bar Graphs contains 2 different bar graph activity ideas, instructions and a template for creating the 3D model, and instructions and handout for the gallery walk and reflection.  You can click on the picture below to preview it.
Creating 3D Bar Graphs

I've also added a few more resources to my TPT store in the past few weeks:

Genre Question Fans - Perfect for guided reading groups, read alouds, partner reading time, genre minilessons, etc.  Resource contains 80 different questions to support the reading of different genres:  fictional narrative, personal narrative, poetry, persuasive text, and informative text.


Literary Question Fans - Perfect for guided reading groups, read alouds, partner reading time, reading minilessons, etc.  Resource contains 80 different questions to support the reading of different literary elements:  author's purpose, characterization, figurative language, point of view, and tone and mood.


Story Elements Cootie Catchers - Different cootie catchers for studying story elements:  plot, setting, character, conflict, point of view, and theme.  My kids LOVE using these for review after independent reading or guided reading groups.


And don't forget I have a fun little FREE Halloween Writing Activity in case you're trying to keep your kiddos busy (and productive) in the next few days.  Just click below to download your own copy.

Happy Sunday!!!  I'm heading back outside with my kiddos to enjoy this beautiful fall day ... and maybe rake up a few leaves.


15

Friday Art Feature: Northern Lights Silhouettes

19 October 2012
YAY for last minute art inspiration on a Friday!  We had a big old math test this morning ... and then I think a stomach bug hit my class and they started dropping like flies.  By last block, I only had 16 students left in the class.  We were talking about the Northern Lights a few days ago in class, and I remembered a project I had seen on pinterest that reminded me of the Northern Lights.  So, I grabbed some black paper and chalk ... and we got started.

We started by drawing and then cutting out a tree silhouette (we used black construction paper trimmed to 8.5 x 11 size).  As I'm integrating poetry into each of our art projects this year, I launched into a mini-lesson about concrete poetry.  We brainstormed a list of words and phrases students could use, then they filled their trees with concrete poetry.  We used sparkle gel pens to write our poetry (they show up well on the black construction paper - and I LOVE a little sparkle in our art).

I then showed the students some images of the Northern Lights.  Although my students live "in the country" up here in Ontario, most have never seen the Northern Lights.  We then took a second piece of black construction paper (also trimmed to 8.5 x 11 size).  They did a quick trace of their tree silhouette on the new piece of construction paper, then started blending chalk colours to represent the northern lights.  Students had to "colour and blend" in an upwards motion to really get the effect.  When students were satisfied with their backgrounds, they glued their tree silhouette onto their background.  After laminating (that chalk is MESSY!!!), we stood back and admired our masterpieces.  (Only a handful finished up today, but most are just about done).


Happy Friday!!!


Jen
19

A Little Bit of Blood and Gore ...

11 October 2012
Our classroom was covered in blood today ... before you start to worry, it was a good thing.  :)  As part of our human body unit in science, we made blood today.  I found this wonderful idea on Pinterest and traced it back to HERE.  I have an extremely high ratio of boys in my class (17:6) and it's getting close to Halloween, so I knew this would be a hit.  And a HIT it was!!!  LOVE these moments!


The past few days we had studied the circulatory system, so today was the day to make blood.  I had all my students bring in plastic water bottles today (I had a few on hand for those that forgot).  We started out by making plasma (water, two drops of yellow food colouring, and a bit of salt to represent the minerals and chemicals.  (And yes, I did get quite a few comments about it looking like pee in the bottle - I told you, I have a LOT of boys in my class). ;)

We then added our red blood cells.  I poured a large amount of Cheerios into a large ziploc bag and added a whole bottle of red food colouring.  I mixed it up until all of the Cheerios were red, then let the students add the Cheerios to their bottles.  The students already knew that the red blood cells were the most plentiful type of cell in the blood, and the reason why blood appears the colour of red.  Like magic, as soon as we added the Cheerios to our bottles, the plasma turned red.


We then added some mini marshmallows to represent the white blood cells and purple pompoms to represent the platelets (both less plentiful then the red blood cells).  The finished result was quite gross, but definitely a useful model that my students will remember for a long time.


Because I try to integrate the content areas into Language Arts whenever possible, we turned our bloody experiment into a writing task.  The final task was to have my students write an expository paragraph about blood.  After a quick minilesson about the set-up of an expository paragraph, I taught my students how to set-up a page to do research.  We divided our page into 4 large squares (plasma, red blood cells, white blood cells, and platelets) and watched a BrainPop video about blood.  Students had to record facts and research on their page while watching the video (we actually watched the video twice to make sure we got down all the facts ... we LOVE BrainPop in my classroom!).  I subscribe to BrainPop on my iPad.  I only have one iPad for my classroom (my own which I bring to school everyday.  I put my iPad under the ELMO so it projects over the smartboard.

Last step, the students turned their research into an expository paragraph.  They needed to include a topic and closing sentence, and at least one sentence in the body for each of the four subtopics (plasma, red blood cells, white blood cells, and platelets).  I did encourage my more proficient writers to include at least two compound sentences for each subtopic.  They had to illustrate their paragraphs with a labelled diagram of the blood model we made today.  A great summative piece to a bloody fun day!  ;)  (I apologize for the lightness of the pictures here - when my students write in pencil, it's so hard to photograph).


 Happy almost Friday!!!  I'm SO ready for you!!!


30

Math Journal Sundays - Place Value and Summary of Learning

07 October 2012
Happy Thanksgiving to all my Canadian readers out there.  Can you smell my apple pies baking???  LOVE Thanksgiving dinner, and I'm lucky (and thankful) that I get to do it twice - dinner at my mom and dad's tonight, and at my mother-in-law's tomorrow.  I bring the pies and my nine year-old makes the bread.  The house smells good all weekend!

On to my math journals ...
This first entry was actually done at the end of last week (but I forgot to take pictures last week).  I did the same 10-flap interactive tool last year, but it's such a good fit for this activity, I decided not to change it.  This one is for reviewing place value columns - we were nearing the end of the unit, and I wanted to get a little assessment in.  We fold the paper in half, then cut 10 flaps on one half of the folded paper.  As a class, we came up with the numbers for the front of the flaps, and then we chose what digit to highlight.  Under the flaps, the students wrote the place value columns for each highlighted digit.  As they did this part independently, we took it up for a quick assessment.  The students also completed their left-side of the page thinking.  The students are now working almost independently on their left-side of the page thinking.  I do have to help some of my grade 5 students with ideas for proof and reflection, but all my grade 6 students and most of the grade 5 students are coming up with their own ideas.

LOVE her reflection at the bottom of the page!


On Monday we completed our "Summary of Learning" for the unit.  We had our unit test on Wednesday, so this was a great review for them.  Because of the reflective nature of this journal entry, the students didn't have to complete left-side of the page thinking for this entry.  (This also leaves a blank page for me to complete and glue in their checklist assessment.  These completed assessments will be sent home for the parents to look over and sign).  
I wanted them to reflect on our three major learning goals (expectations) for the unit, so we cut four pieces of paper - each about 1" longer than the previous one, and stapled them at the top to make a flip book.  On the bottom of the 2nd, 3rd, and 4th pages, I had the students write the learning goal (making sure the three goals were visible when the book was closed).  Above each goal, students had to PROVE they had mastered the learning goal (either through a proof problem or reflection of some sort).  


Well, that's about it ... you can find all of these ideas (and about 38 more) in my Interactive Journal Resource.  Just click on the image to the right to preview the resource.


Now ... it's back to my pies ... :)
Happy Sunday!!!


Jen


11