RUNDE'S ROOM: Classroom DIY

Showing posts with label Classroom DIY. Show all posts

Giant Friendship Bracelet D.I.Y.

15 August 2023

With three teenage daughters, the summer of Taylor Swift hasn't escaped our house.  And that's perfectly O.K. with me.  We didn't score tickets, or even an access code (large sigh), but we've been living vicariously through friends' posts. So when I saw the cutest friendship bracelet bulletin board by A Girl and A Glue Gun, I started to get a great idea.


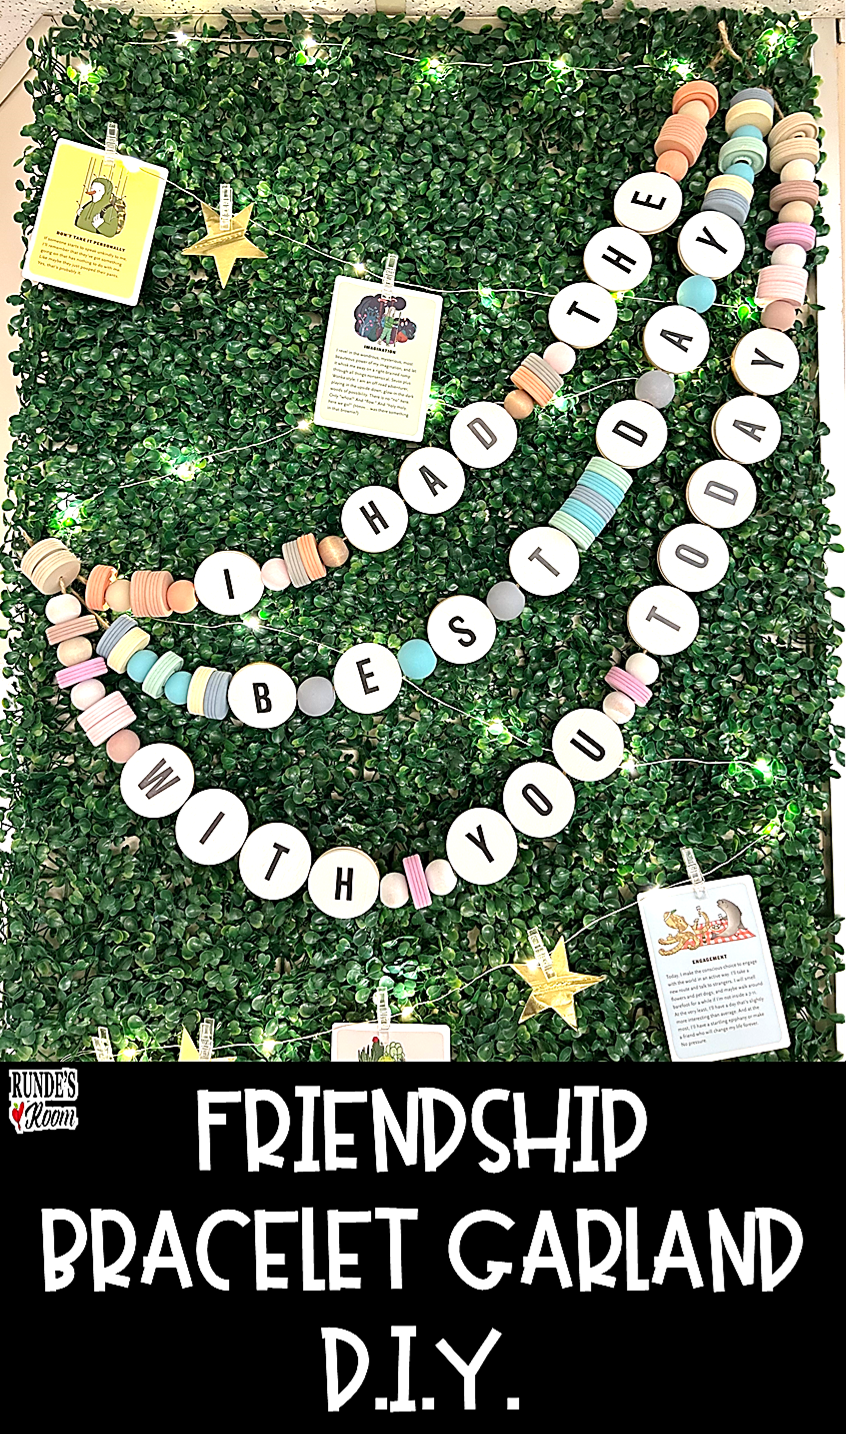
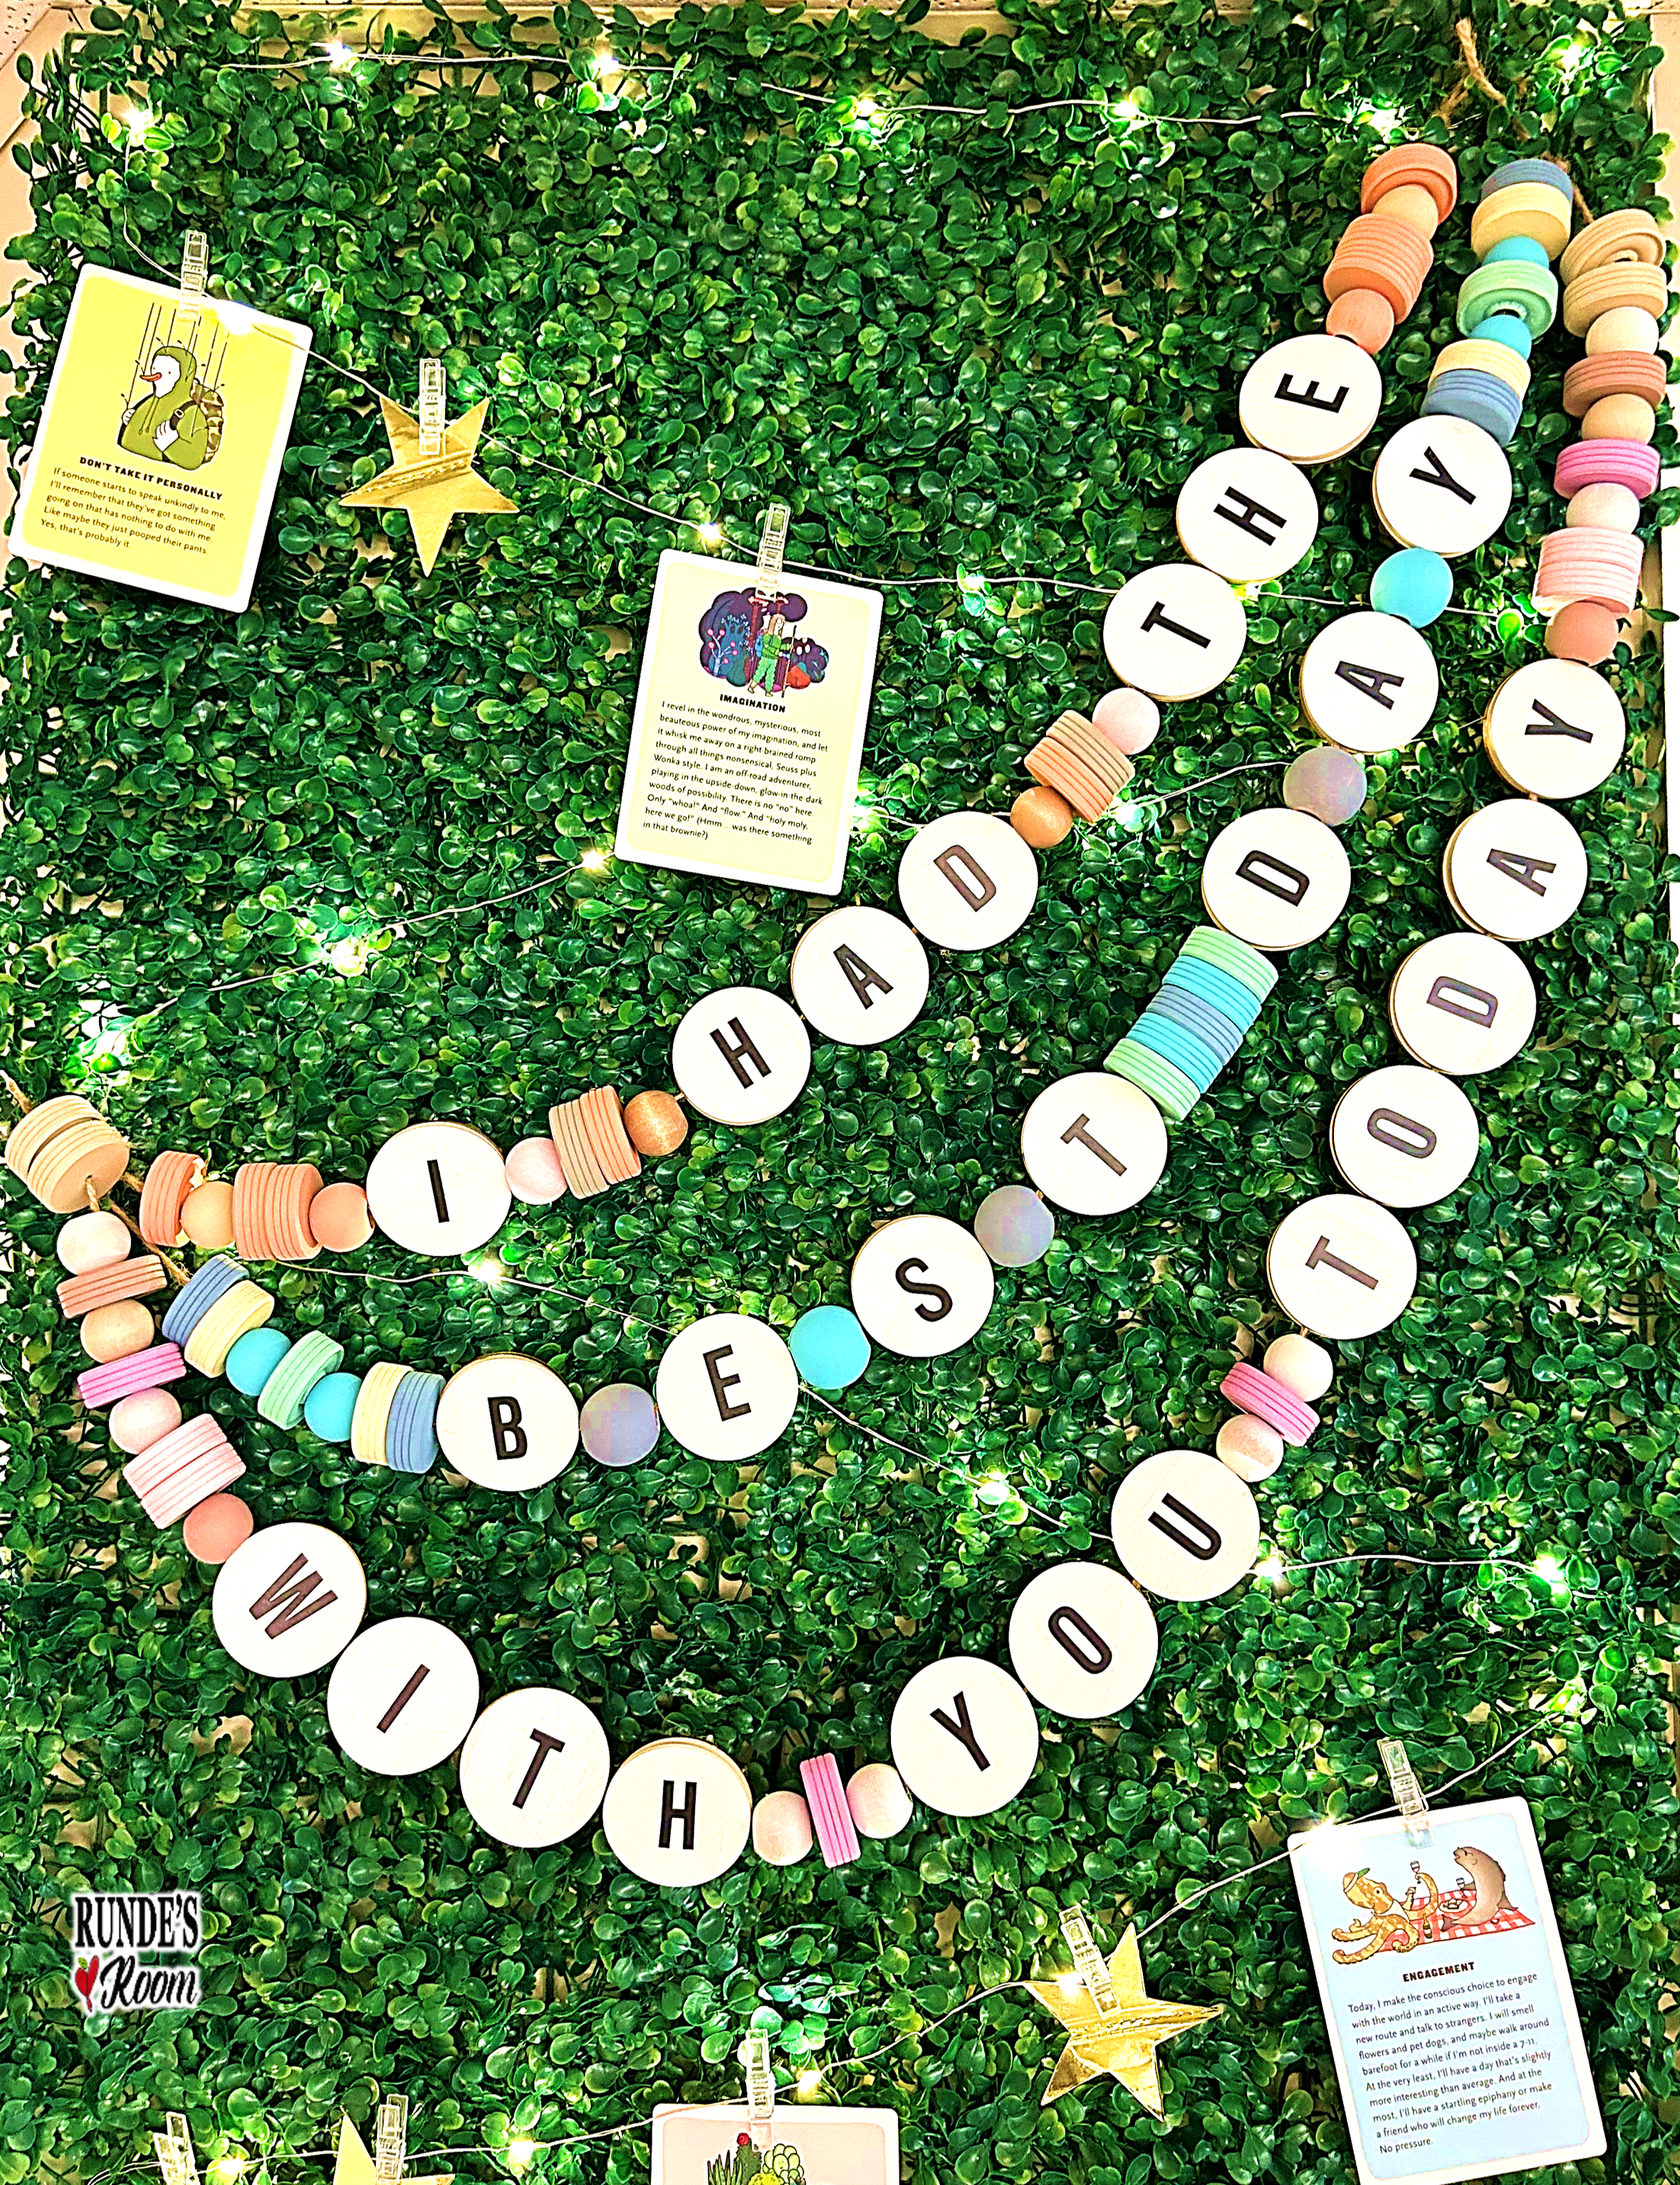
These Taylor-inspired friendship bracelets,  with Taylor's lyrics, are the most adorable addition to my classroom, and looking at them just makes me happy.


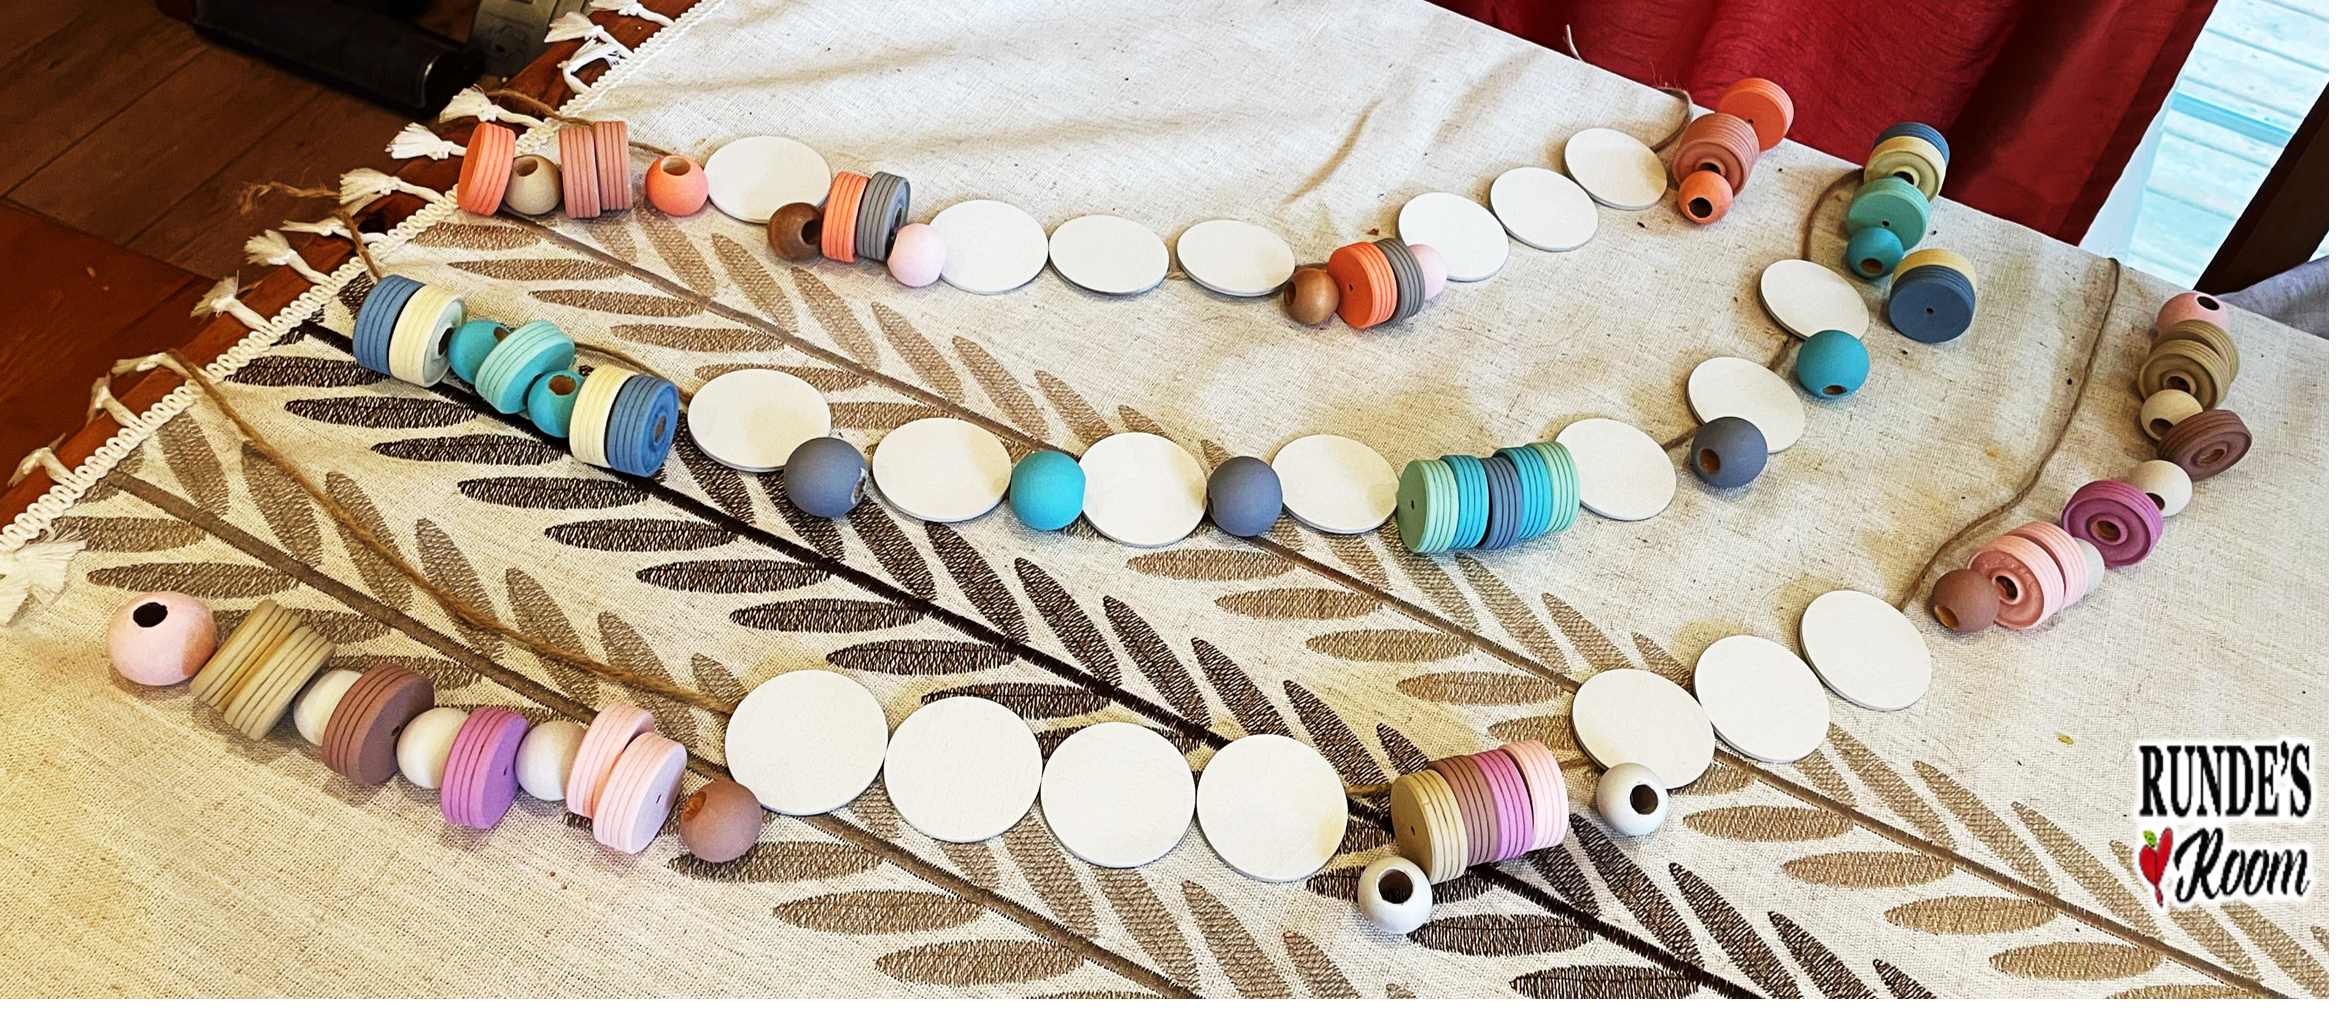
I bought large wooden beads, wooden toy car wheels (about one and half inch diameter), and 2" wood discs.  I ordered all the wooden pieces from Amazon, but many large craft stores may stock them as well.  I also bought acrylic paint to match my theme, black letter stickers (1"), and some twine.


Plan out your patterns before you paint so you make sure you have enough of each colour (just trust me on that one).  


I used twine to string the beads, and I used a glue gun to attach the wooden discs to the twine.  I actually sandwiched the twine between 2 discs.


So, my new classroom is quite old and showing every single minute.  Any space that isn't covered by bulletin board is fairly worn, and there's only one very small window.  I wanted to cover some of the ugly and bring in some outdoors, so I added a small green wall to my room - the boxwood panels.  The box that I got from Amazon had enough to do two of these small spaces in my room, so I'm very happy.


This wall is on the way out the door, so the students will see this message as one of the last things as they leave each day.  Exactly the message I want them to have.  I added some fairy lights, and clipped some positive affirmation cards to the clothespins.  I will add in some pictures later, once I get to meet my new kiddos.  The best part about it was that one of my daughters worked on the whole thing with me - it may have been because of Taylor, but I'll take it.


0

Monday Made-It ... on Tuesday

16 July 2013
Well, at the rate I've been going lately, just publishing a new blog post should qualify as a Monday Made-It (or Tuesday Made-It ... it's summer - we're not supposed to keep track of days, right?).


My last post was one month ago, and I titled it "Riding The Crazy Train".  I don't believe I've gotten off that crazy train.  But at least it's been a bit less stressful.  A bit.  And hotter.  Much hotter.  My girls and I have been enjoying every minute of summer so far - lots of outside fun, summer camps, soccer, and now some inside crafting ... because it's WAY too hot outside.

So, here it is ... my Monday (Tuesday) Made-It.  Four canvas boards, covered in fabric, with four sparkly inspirational words for my classroom.  I can't wait to bring these to school (and my husband probably can't wait, either, because right now they're currently occupying our dining room table).


1.  First, I measured the fabric (I used quilting fat squares) so that it would fit around the canvas (8 x 10).  I cut a notch out of each corner so I could fold it around the canvas at little more easily.


2.  I used a glue gun to attach the fabric to the back.  This pic is my oldest daughter making hers - we did some crafting together while my two youngest daughters were at dance camp.


3.  For the lettering, I printed the words out on the computer, cut them out, then glued them to the board.


4.  I "painted" each letter with mod podge, then added some sparkle.  I chose deep red because I have a deep red wall in my classroom, and I'm always looking for ways to tie that colour in so it doesn't look out of place.  I did two coats of the mod podge and glitter so there weren't any spots showing through.  I then went over the glitter with one more coat of mod podge to seal it all in.

And there you go ... some beautiful inspiration for my classroom, a fun craft out of the heat, and a blog post ... I think I'm happy.  :)


I'm linking up to Tara's fabulous Monday Made-It over at 4th Grade Frolics.  If you're looking for a little inspiration, I am POSITIVE you will find some there!

Happy Tuesday!!!

14

One, Two, Three ... Show Me!

19 November 2012


About a month ago I posted on Classroom DIY about my Two-Sided Dry-Erase Boards.  These little boards were super easy to make, and my students LOVE using them.

I bought white and black bristol board to make the dry erase boards.  I cut each piece of bristol board into 6 pieces of 8.5 x 11 size.  Place a white and black sheet into a laminating pouch, and laminate.  That's it!  (Told you it was easy).  Yes, I know you've all seen many variations to make the dry erase boards, but I LOVE the black side of this one ... know why? ... we get to use the neon dry erase markers!  So cool!!!  I don't have quite enough neon dry erase markers for a full class set (I'm waiting for a sale - those things are expensive!), so I hand out the neon markers as a reward to students when using the boards (students who have finished all their homework, or showed good character, or whatever I feel like rewarding that day).

Right now we're using the dry erase boards to practice our multiplication skills - and my students CAN'T WAIT to use the boards.  Every morning they come in and BEG to use the boards ... so, of course, I make them use their best persuasive language (we're writing persuasive paragraphs in writing right now) and let them think they've convinced me.  They work with their elbow buddies for a bit on some questions I've put on the board, then we do some whole class review.  When all students are done, I call out, "One, two, three ... show me!" and the students hold their boards up for me to check.  I can quickly see who needs some extra help in a small group, and who has got it.  


At the end of last week, the students asked if we could use these boards in language, too.  I think it would be a lot of fun to use them during our Word Work this week when we're looking at parts of speech.  Do any of you fabulous teachers have any wonderful tried-and-true ideas for working with parts of speech and the dry-erase boards?  I want to go beyond the obvious listing of them and really make it engaging for my students.

Happy Monday!!


Jen


16

'Twas the Night Before ...

03 September 2012

'Twas the night before school,
if you listen you may,
hear a plea from all teachers,
I need ONE MORE DAY!!!

Okay .... so three baths taken, three haircuts given, three lunches made, three backpacks packed, and three outfits laid out.  For the first time, all three of my little girls will be in school - needless to say, it's been an exciting and emotional day.  I think my girls are ready for back-to-school ... but I'm exhausted!!!  In between all of this today, I managed to slip out to my school and spent another 5 hours getting ready.

I've got a lot of last minute things to prepare tonight, so this will be short and sweet.  I took some pics just as I finished in the classroom today.  (I would've stayed a bit longer to get some photocopying done, but there was a severe thunderstorm warning on the radio, and I was advised to head to an inner room in my house and stay away from all windows ... I took that as a sign to go home).

This is my back-to-school board just outside my classroom.  Each soccer has a student name on it.  Tomorrow, the students will take down their balls and write their goals on the spaces provided.  These soccer balls and the goal activity is from a pack of Goal-Setting Activities from Teaching in Room 6.  I LOVE all the goal-setting activities, and will probably use a few more throughout the year.  You can view her activity package HERE.  The sports-theme bunting is from my TPT store.  You can see it HERE.

This is my classroom library area - my favourite place in the class.  The bulletin boards are empty for now, but they will soon be filled with students work.  (I think I may need a few more bookshelves - running out of room too quickly - I think I may be able to squeeze one more into the corner ...)  It's hard to see in the picture, but each shelf is labelled by either genre or author.  I put a few of the new books I purchased over the summer on display on top of the shelves.

My CAFE (CRAFT) and Daily 4 board.  After our book study this summer, I think I'm ready.  I got the CRAFT letters from Kristen at Ladybug's Teacher Files.  I think I'm in love with them - they're perfect!  You can download your own set HERE.  I'm going to be doing Daily 4 this year (I'm leaving out "Read to Someone".  The four signs are laminated, and I can write the daily task on each one with a dry erase marker.  Work for "Word Work" and "Work on Writing" will be in files beside the board, so students can independently get what they need.  These posters were part of a package I got from Faith Wheeler.  You can download your own copy HERE.
You can see some of my math manipulatives in the shelf under the bulletin board.  I have many many more stuffed into cupboards somewhere in my room.


These are my new art boards - I didn't cover the blackboards this year - SO.MUCH.EASIER!  I made magnet buttons to hang our art work by glue-gunning a round circle magnet to the back of a button.  SO cute, and so much easier to use than tape.

These next pics are just classroom pics from different points in the classroom.  A few are from my classroom door looking to the front of the room.  The others are from my desk area, looking to the back of the room.  I'm always amazed by how large my room looks in pictures - it really isn't a very large space ... and it's trapezoid-shaped ... so very weird.


It's not perfect, but it's close enough to done that it won't keep me awake all night (other work may, though).    To those of you who start back tomorrow, I hope you have a WONDERFUL first week back.  And to those of you who are already in the full swing of things, I hope you have your best week yet.  

Happy Monday!!!


24

Character ROCKS!

08 July 2012
Do you remember my Character ROCKS! posts from last year?  If not, you can read about them HERE and HERE.

I wrote about this quick and easy character recognition program on my post for Classroom DIY today.


On the post on Classroom DIY, I explain my system and I included a link for a file that contains the character cards and everything I used for the bulletin board display.  Drop by Classroom DIY to pick up your own package, and remind your students that good character ROCKS!!!


Happy Sunday!!!

12

Exploring Poetry

17 May 2012
photo of Exploring Poetry @ Runde's Room
We've started poetry!  I LOVE reading and writing poetry with my students!  This is a label that one of my students made for his poetry folder - how fantastic is that!?!

We keep all the poetry we're writing in a two pocket folder.  Drafts go on the left side, and published poems go on the right.  At the end of the unit we'll use my binding machine to turn our published poems into wonderful little books.  Such a treasure and a treat to send home at the end of the year.

photo of Exploring Poetry @ Runde's Room
For now we're posting our published poems on one of our language bulletin boards.  These were the first poems we wrote - biography "I Am ... " poems.   I always start with simple template poems to get the students used to writing, and then we move on to more difficult forms.


With a limited number of computers available, I've decided to publish our poems by writing them on smaller pieces of blank paper, then gluing them onto pieces of scrapbook paper cut down to 8 1/2 by 11 size.  Students have the option of adding an illustration to their poems to add to the visual appeal.


photo of Writing a Haiku on the smartboard @ Runde's Room
Yesterday we wrote haikus.  I have a fun little smartboard lesson I've made to teach writing a haiku - it's based on the idea of magnetic poetry tiles.  (This haiku is written about one of my pictures of a lily in my garden {LOVE my lilies - can't wait for summer to have them in bloom again}).  After the students learn about the formula for a haiku, and read some examples, they work in pairs to create a haiku based on the word list they have.  Students can then come up to the smartboard to share the poems they have written.  To take a peek at my Smartboard lesson, Writing A Haiku Using Magnetic Poetry Tiles, click on the lily picture above, or the poetry screen below.

photo of Writing a Haiku on the smartboard @ Runde's Room


photo of DIY Magnetic Poetry Kits @ Runde's Room
When the students finished this activity, I let them "play" with the magnetic poetry kits I've made for my classroom.  I made my kits a few years ago, and they're such a hit with my students, I decided to make a few more this year.  They had a lot of fun writing haikus with the kits.

photo of DIY Magnetic Poetry Kits @ Runde's Room


photo of DIY Magnetic Poetry Kits free pdf download @ Runde's Room


These magnetic poetry kits are great for writing centers, collaborative poem activities, or even to keep the kiddos busy during indoor recesses.  I whipped up a little FREEBIE last night and posted it to my TPT store in case you're interested in making your own magnetic poetry kit.  All you'll need is some magnetic paper (I buy mine at Staples or Walmart, but I'll post the link to Amazon below in case you have trouble finding it), and a cookie sheet or metal sheet.  Click HERE or on the picture to the right to grab a copy and start making your own Magnetic Poetry Kit. Trust me - your kids will LOVE them!

Happy Thursday ... just one.more.day.

13

Classroom DIY

08 May 2012
Are you looking for new ideas to spruce up your classroom?  Do you get bitten by the craft bug?  Are you itching to try your hand at a few do-it-yourself project?  Can you tell we were learning about idioms at school today?  ;)

Well, come on over to Classroom DIY.  I am SO excited to be a part of this brand new collaborative blog!  And you can get in on the fun, too.  If you try one of these fantastic projects in your classroom, you can send in a pic and grab a FABULOUS thank-you package from the authors involved.

Come check out my first post by clicking on the button below.  ENJOY!!!


Classroom DIY

Happy Tuesday!!!
2

The Beginnings of my Classroom Remodel

16 August 2011
It's starting to come together.  My bulletin board paper, borders, and letters were delivered today.  I also found some great little baskets to match the colour theme at my local Dollar Store!  I've got to get in to my school soon - my dining room is starting to overflow!
All my bulletin boards had been orange before, so this alone will make a big change.

Funny story - last night I was out shopping for my current pinterest-inspired projects.  So I'm walking through Staples, and who should I see ... my sister - another blogger (Meet the Dubiens) and fellow pinterest-addict.  She was also shopping for some pinterest-inspired projects.  I guess we're two peas in a pod ... or two nuts in a shell ;).  Anyhow, she took one look at the supplies in my hand, and knew exactly what I was making.  So here it is - last night's pinterest-inspired project - I had originally pinned Sydney's at Lessons Learned.  I think it will look great on my door - I haven't decided if I want to add my name, yet.  What do you think?

But that's not all - I got the supplies for another pinterest-inspired project ... I'll bet you can guess what it will be!

That's right - I'm making three of those super-cute stools for my classroom.  I think they'll go great in front of my bookshelves - I know my students don't like sitting on the floor while they are looking for books, so I think they'll really like these.  I'm so excited about them I would've got started last night after I finished the wreath, but it was already a late night because it was my middle daughter's last soccer game.  What a GREAT first season for her!!!  So proud of you, Katie!!!


8